Communion Table Repair

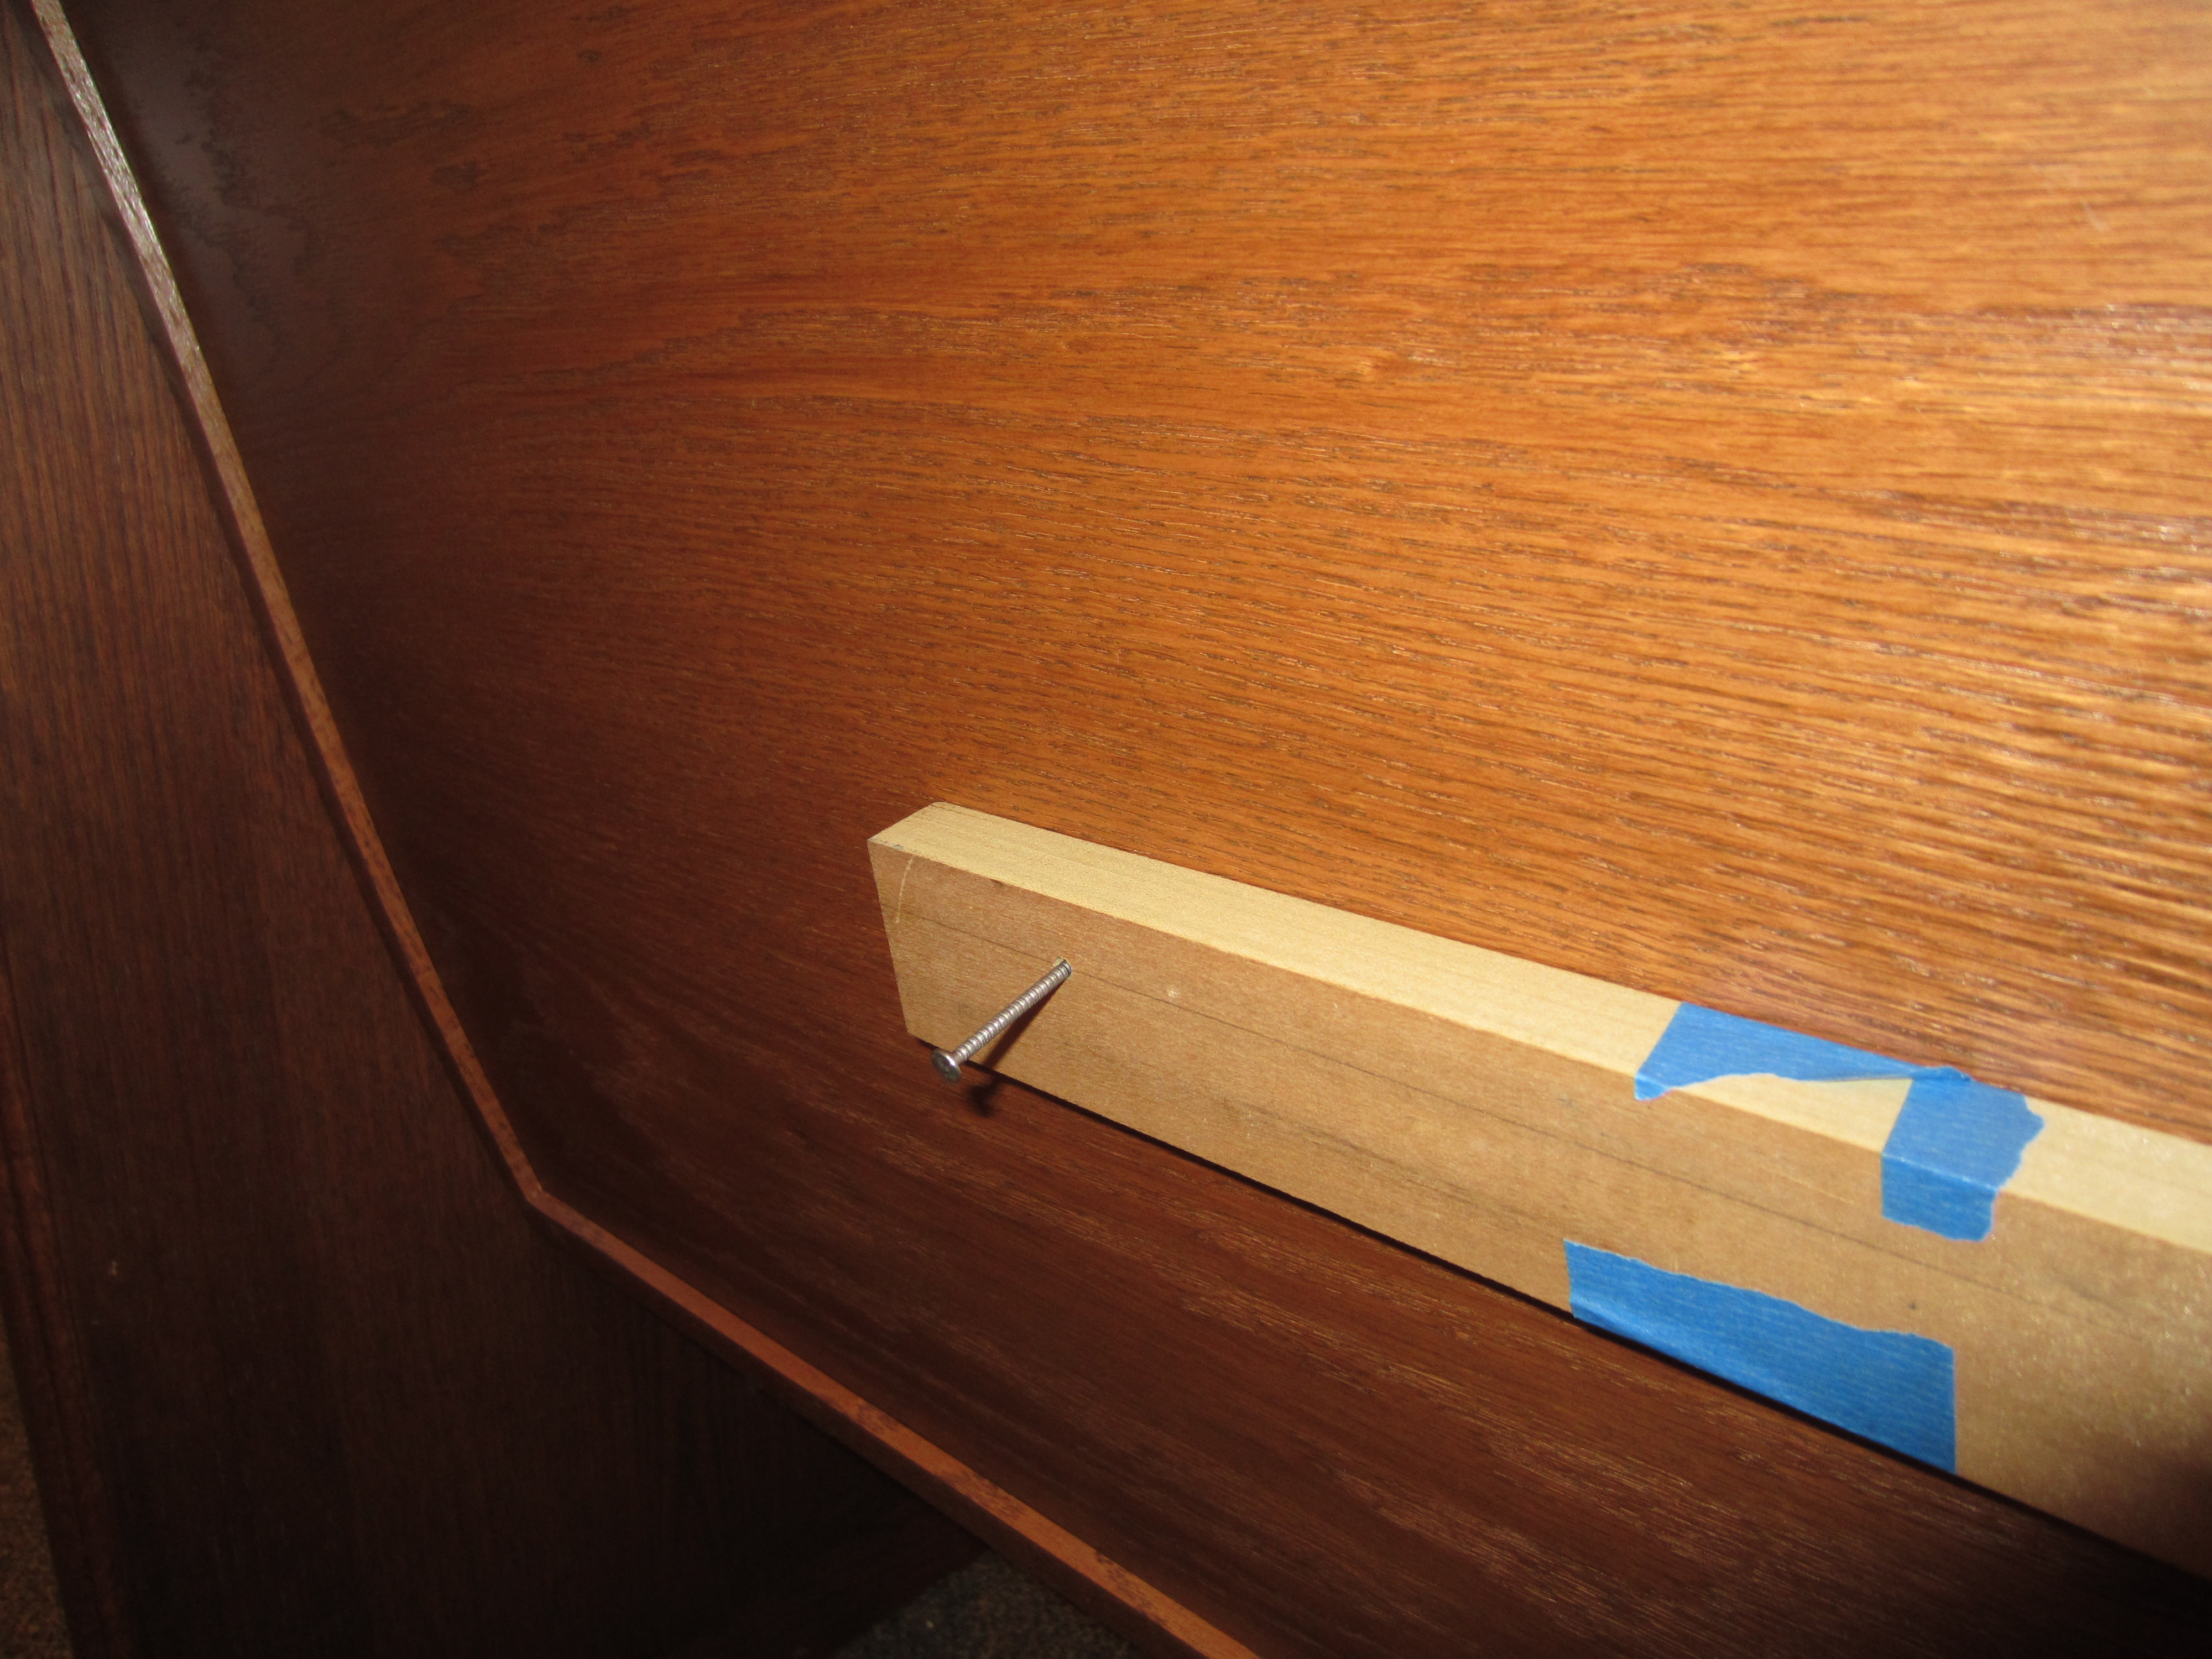
At the start of March our church asked if I could take a look at some communion tables that were a little wobbly.  They were purchased tables and are often moved around during the week.  Over the years the legs had been bumped around and were slightly unstable.

The tables were created with solid oak legs, solid oak top, but the rails where made of plywood.   I’m not sure why they used plywood, maybe for uniformity of appearance.  These were attached to the legs using a non-reinforced butt-joint, with screws from the top and bottom (A).
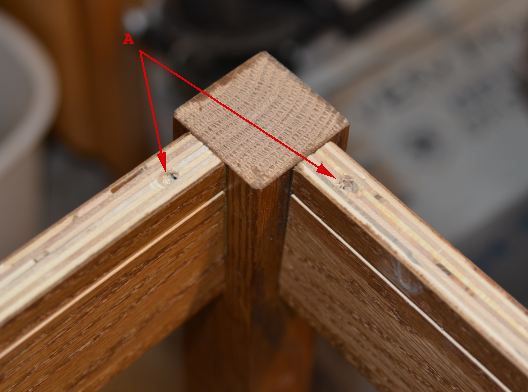
Butt-Joints with screws

Butt-Joints with screws (A)

Over time the glue of the butt joints gave way to strain of being moved over and over again.  This left the screws as being the only thing holding the tables together, and in taking the full strain of that responsibility they began to split the plywood:
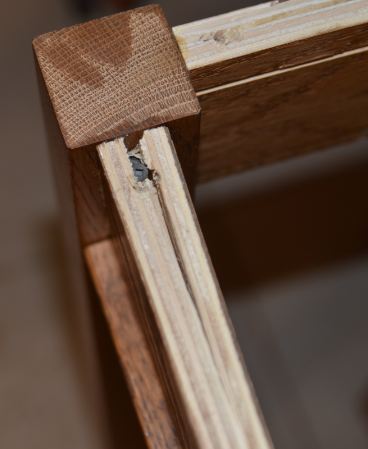
Original construction showing the plywood splitting

Original construction showing the plywood splitting

It looked like they’d been repaired a few times, reglued, sometimes with wedges and with some additional screws.
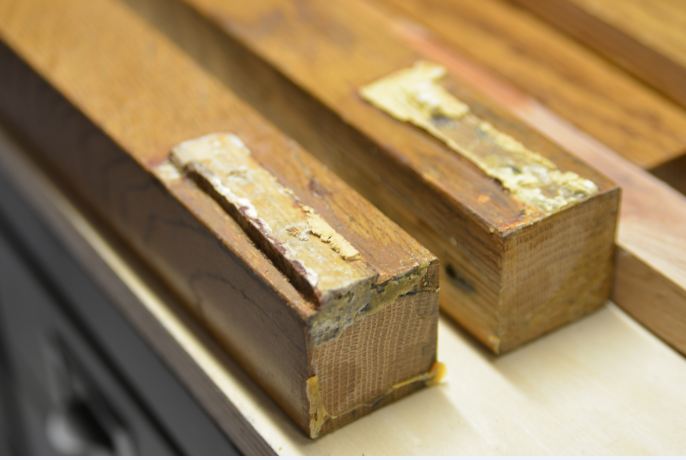
Original Repair

Original repair to be removed, wood wedges, glue, some wood filler material.

These held for a while, but couldn’t withstand the long term wear and tear.  The tables needed an overhaul.   The idea though was to save as much of the original table as possible, and hopefully only refinish parts of them and not the entire table.  At first glance this would include replacing some of the rails, but after tearing the tables down to their components it was clear that every rail should be replaced.  The top of the tables were in very good condition, the legs were in good condition, but the rails were a loss.

So, first decision was to use solid oak for the rails, not plywood.  The original rails were a slightly differnt color then the top and legs, probably because they were plywood and the stain didn’t take as well.  Using solid oak, albeit new wood, was going to be easier to match and control the stain and would provide good solid support.

Next was to find a matching stain, after talking to a few people familiar with the person who had repaired them in the past, and trying a few out, a variation of Golden Oak (B) seemed to work best
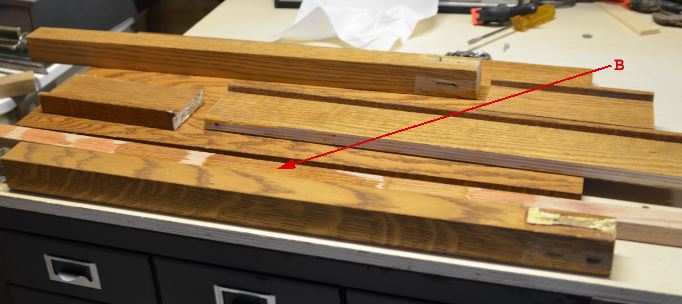
Disassembled parts and the stain match (B)

Disassembled parts and the stain match (B)

Next the legs were cleaned up, removing the wood filler, the old glue, screws, etc.

New Rail Structure

After the legs were prepared, it’s time to decide how to restructure the table.  You have a lot of options in building a table, reinforced butt joints with dowels, mortise and tenon, steel corner brackets, pocket screw joinery, etc…  I wanted something strong, but make sure it was likely I’d get it done in a good timeframe and not make a significant mistake.  Normally I’d do a mortise and tenon joint on tables, but after some debate I decided to go pocket screw joinery.  This in conjunction with the solid oak wood should be a good fit for this usage.

Each original rail had a piece of oak trim as a lip on the bottom, which I was able to salvage and re-use.  A few of them had to be stripped and refinished
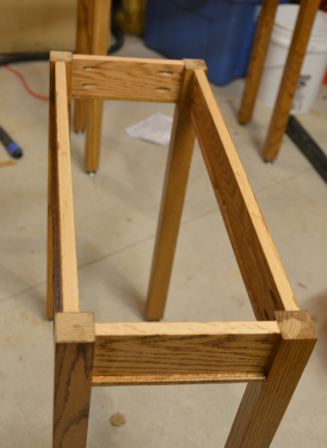
Brand New Rails stained, glued, and pocket-screw joined

Brand New Rails stained, glued, and pocket-screw joined

I ripped a groove in the top of the rails to connect the top in the same way it originally was.
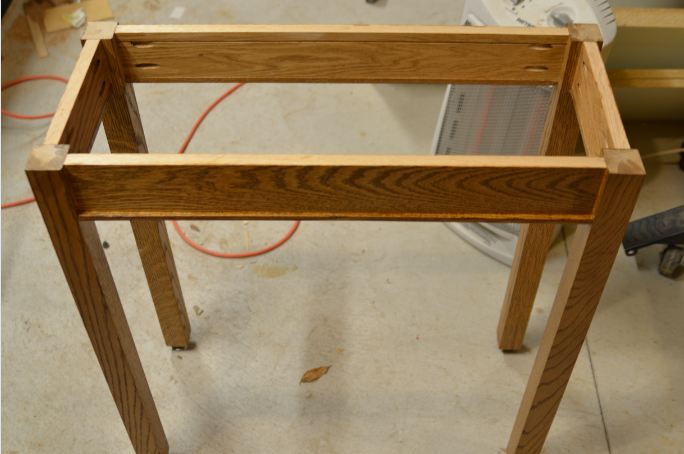
Brand New Rails stained, glued, and pocket-screw joined

Brand New Rails stained, glued, and pocket-screw joined

It worked out, I didn’t need to completely refinish each entire table, and after a couple coats of poly on the rails they were done.

Pew Book/Card Holders

In mid-March Pastor Rob approached me for some work the church needed done to complete some new church pews being installed.  The church was going to move two pews from another room and have them installed into the back of the church.  These pews didn’t have bible holders, and the back pews that currently existed did not have bible holders.  This left, all told, 12 new bible holders that needed to be made, and he asked me if I’d be able to do that.  I was honored that he trusted me to do that, but a bit worried about modifying something so public, and in the church no less.  Drilling holes in God’s House was daunting, but I took the job without hesitation.

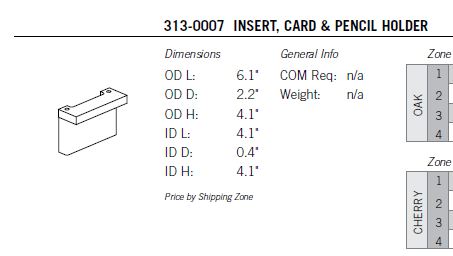
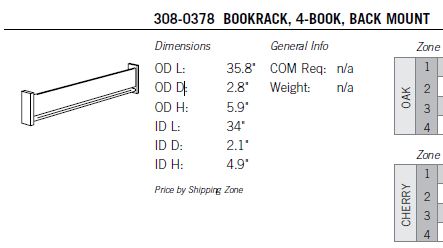
I started by removing one of the existing bible holders and taking it home to make a plan and match the stain.  I had some difficulty matching the stain, so after inquiring found out the manufacturer (Sauder) of the original bible holders and looked them up to see what “color” they called this.  Well, I found a price book for their products that listed out all of the options, stains, etc, but this didn’t help.  It contained the item numbers and dimensions though:

Sauder Catalog, Item 308-0378, Bookrack, 4-Book


Sauder Catalog, Item 313-0007, Insert Card & Pencil Holder

I did some test stains on some oak, took them into the church and asked for a few people’s opinions…. after  a few runs I found one that was a fairly close that Pastor approved.

Building

When it comes to woodworking I have a tendency to build on the fly.  I keep a parts list in my head, which is probably not the best way to do things.  In this case I needed to write everything out because I needed to make sure each piece was the same size from book rack to book rack.  I wanted each piece to be interchangable, so that I could make a few extra pieces and swap out “bad” items, or pieces that I might make a mistake on.

Dimensions/Stock List

(I never filled this in…. sorry….)

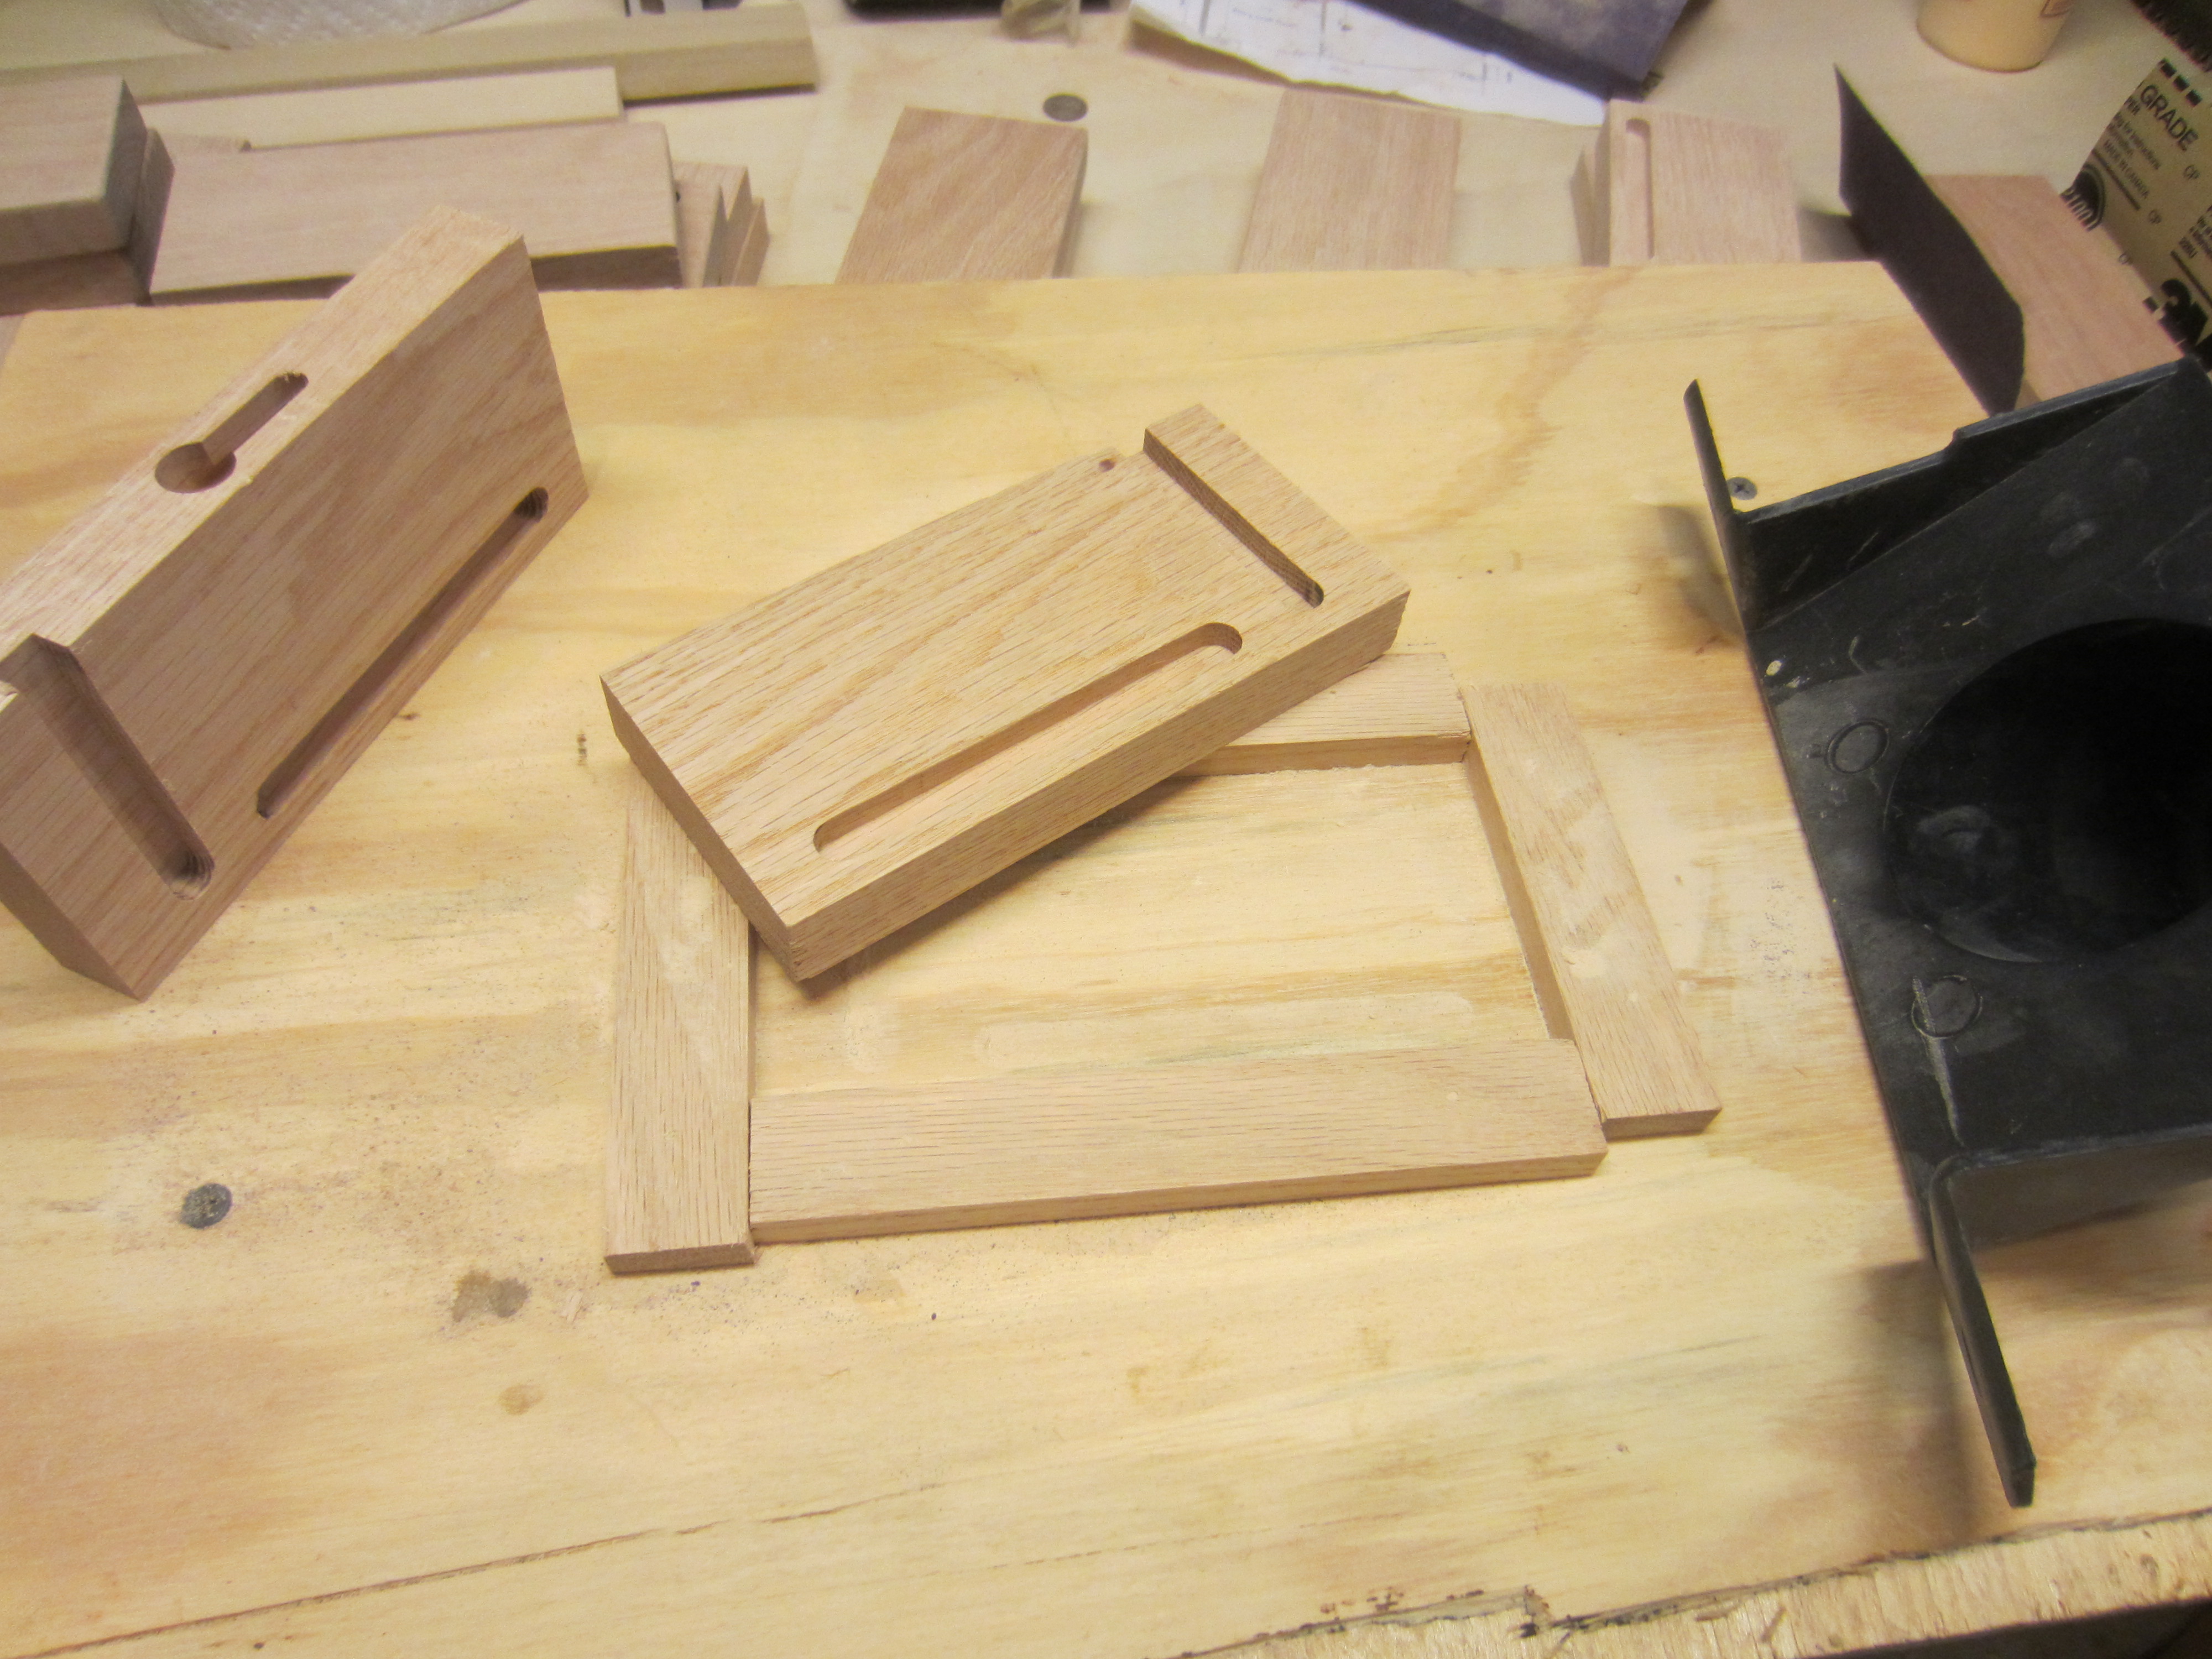
Book Rack Ends

  1. Cut the stock to width.  Easy enough to make each piece the same length;
    1. Run one side through the jointer
    2. Use that side against the fence to cut to width on the table saw.
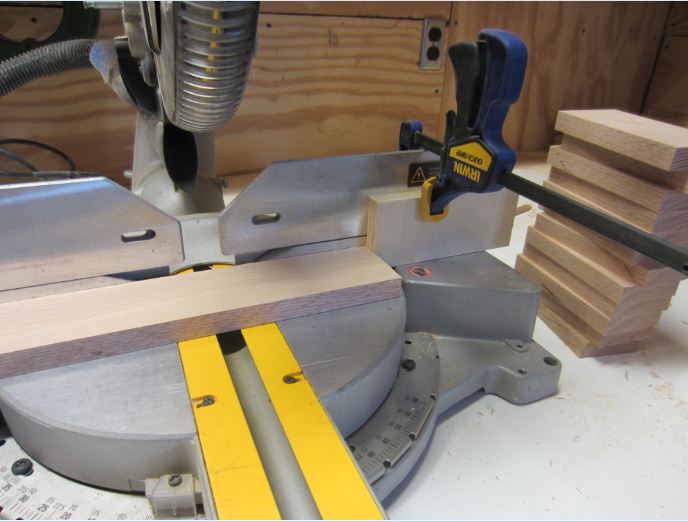
  2. Cut the stock to lengthThere are a couple of ways to make sure stocks is the same length.  I prefer just clamping a stop (scrap piece of wood) onto the cut-off saw.  In the picture below you can see the stack of side blanks.  I needed 26 of these to create the book racks needed, but I cut 30 in case of other issues down the line.
    Cutting Book Rack Sides
    Cutting Book Rack Sides

Ending of this post…

Ok, so, I started this post three years ago.  I… wasn’t in a mindset to finish the post, but I did finish the bible holders.  Here are some process and ending pictures.  (nope, not in order… but hey… if you have questions, comment. 🙂  )

Sanding jig for the sides…IMG_1849
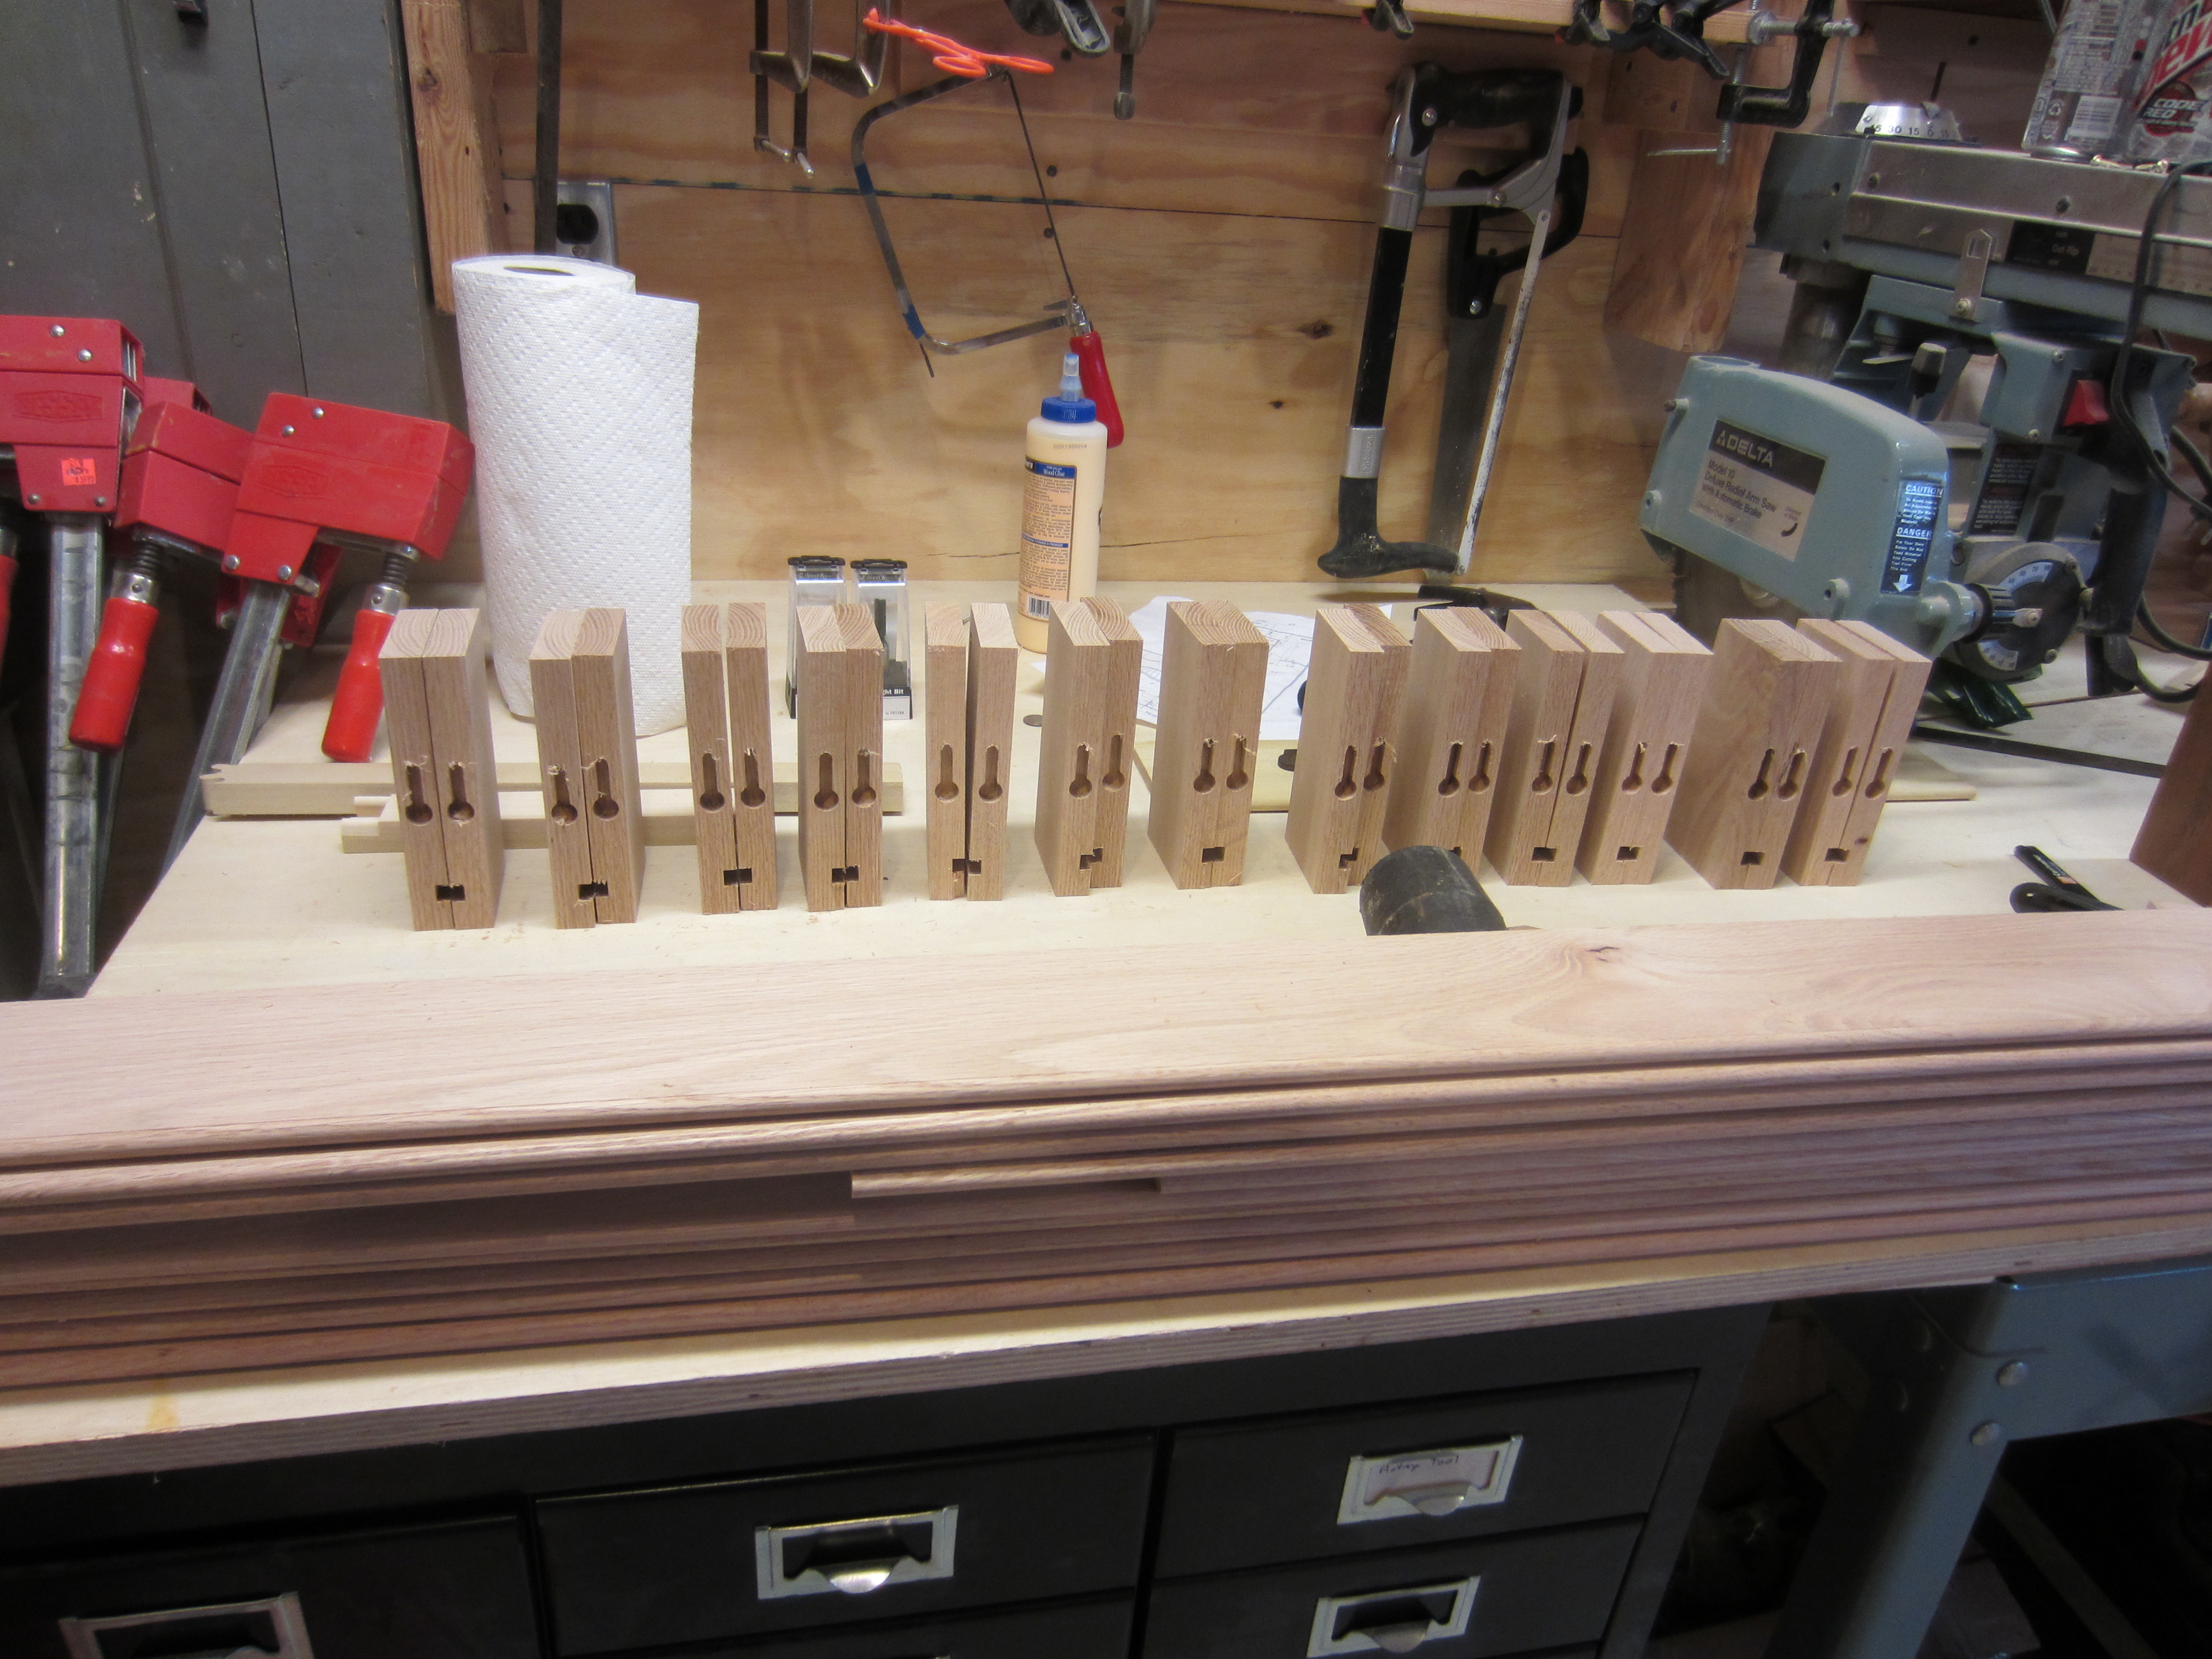
Below is the setup for the keyhole jig on the back, which is used to connect to the pews.
IMG_1802

the backs of the bible holders…

IMG_1817

one set….

IMG_1814

The dados on the inside of each side of each bible holder…

IMG_1801

Built, but not yet stained…

IMG_1826

I used a jig to center them all on the back of the pews… kept this jig for years, eventually burned it in the firepit in the back I believe… 🙂

IMG_2055

Attaching them to the pews…  Notice the felt I added to the bottom, so when people put bibles in them they didn’t “thud”  🙂
IMG_2061

The final tack to hold the cards and pencils…

IMG_2083

The finished look!  Can’t tell the difference between these and the originals.

IMG_2098

Updates

The Robertson/Otto Family tree information and vineyard pages will be updated sometime next year when things slow down.  With everything going on we’ve put all of it on hold.  Sorry for the delay.  May God bless you and be with you this holiday season.